Instruction
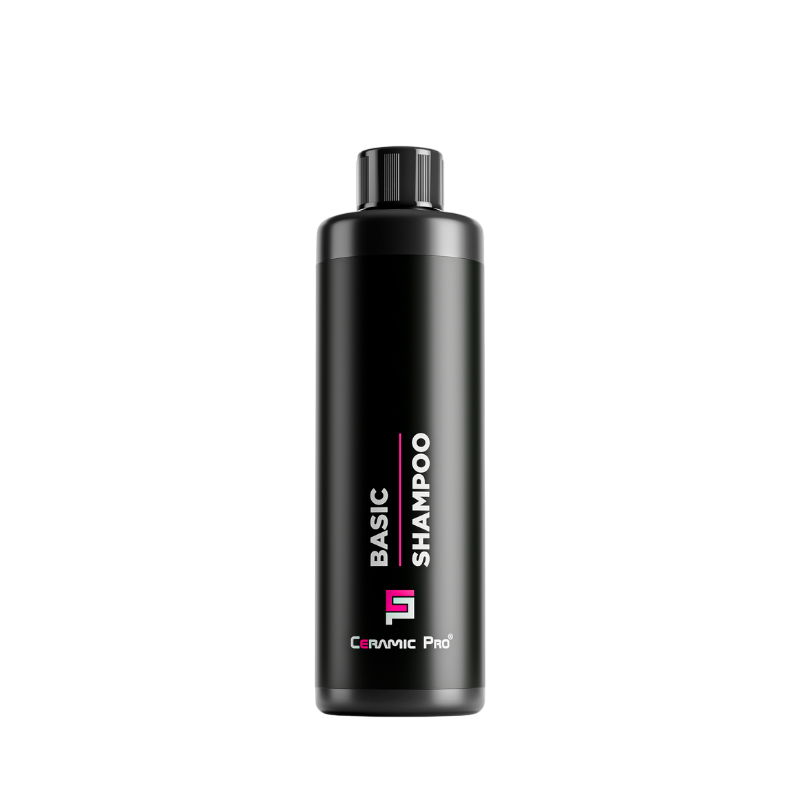 Ceramic Spectrum Pro Basic Shampoo
Ceramic Pro Basic Shampoo is a product for regular car maintenance that gives the paint a glossy finish.
Pour about 50ml of shampoo into 10 litres of water and mix under pressure. For safe detailing washing, use two buckets with a separator system. This helps reduce the risk of scratching the paint. One bucket contains water with shampoo, the other clean water. Rinse the sponge after washing each section.
Pro tip: start by washing the cleanest parts first. Hood, windshield, roof, rear and then move on to the sides and lower sections. The order is very important. If you start with the lower parts of the car and don't rinse the sponge, you
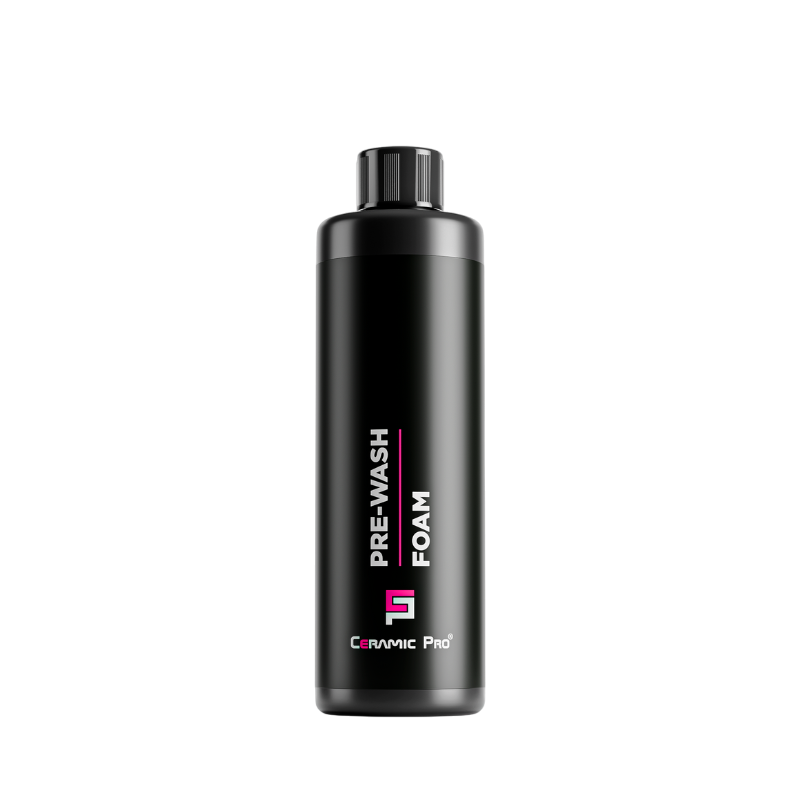 Ceramic Pro Spectrum Pre-Wash Foam
Pre-wash foam is a product with a neutral pH designed to pre-dissolve dirt.
The product is safe for coatings and waxes. We pour 100 ml of the product into 1 liter of water. Apply from the bottom up to avoid missing any areas. Leave the foam on for four or six minutes, then proceed to rinse.
Pro tip: to maximize the effectiveness, use warm water to enhance cleaning power.
 Ceramic Pro Spectrum Traffic Film Remover
Traffic Film Remover is a pre-washed product that makes it easier to remove tough dirt. We have the perfect level of dirtiness.
On the car, to use the TFR product, adjust the product dilution according to the level of dirt on the car, following the instructions on the label. Evenly spray the surface of the entire car. To allow the product to dissolve the dirt, leave it on for two to three minutes. Rinse from top to bottom. Remember not to let the product dry on the paint. At this point, the car is ready for the next stage of hand washing.
Pro tip: TFR works great for the maintenance of trucks and machinery too.
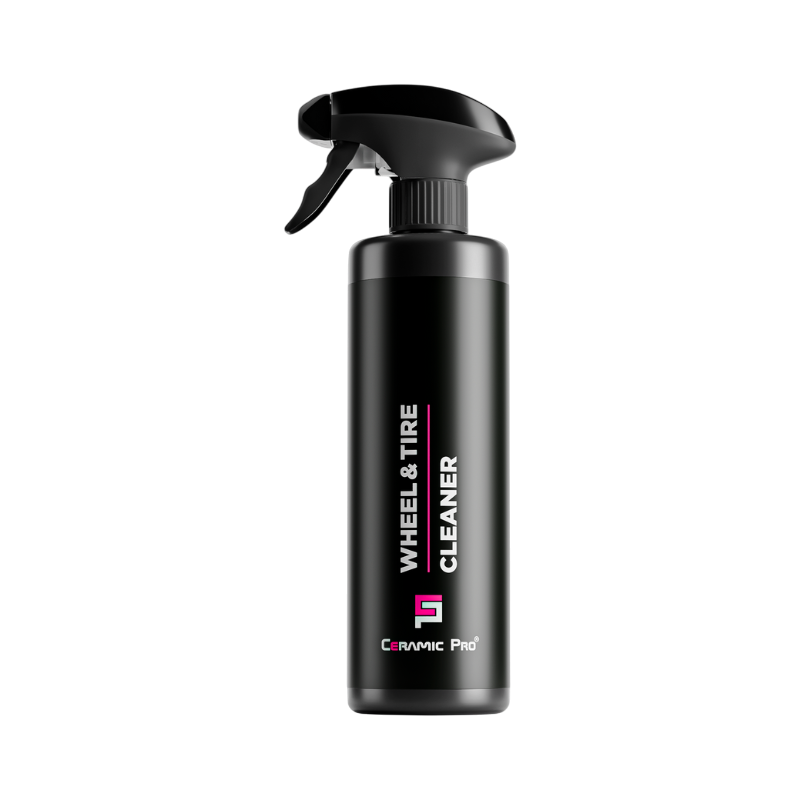 Ceramic Pro Spectrum Wheel & Tire Cleaner
Acidic Shampoo is a product designed by professionals for the maintenance of ceramic coatings.
Ceramic Pro Wheel & Tire Cleaner is a product for cleaning rims, wheel wells, and tires. Start by rinsing off the dirt from the wheels, tires, and wheel wells. Spray the wheels evenly, both inside and out. Don't forget about the wheel wells. Wait two to three minutes for the product to start working.
Remember, do not apply the product to a hot wheel. In the next step, clean the tire, the wheel well, and the inside of the wheel. Then use a brush to detail the outside of the wheel. In the final step, rinse the entire wheel thoroughly.
Remember, do not let the product dry on the surface. For a perfect finish on your wheels, don't forget to use the Black Tire product.
Pro tip: this product also works great for cleaning rubber floor mats.
 Ceramic Pro Spectrum Acidic Shampoo
Acidic Shampoo is a product designed by professionals for the maintenance of ceramic coatings.
When servicing the protective coating pour 50 to 100 ml of shampoo into 10 liters of water. The shampoo's acidic pH helps remove fresh mineral deposits. Wash the car by hand. Next, remember to thoroughly rinse the shampoo from all crevices. Rinse from top to bottom. Remember not to let the product dry on the paint.
Pro tip: you can use this product in a stronger concentration as a water-spot remover.
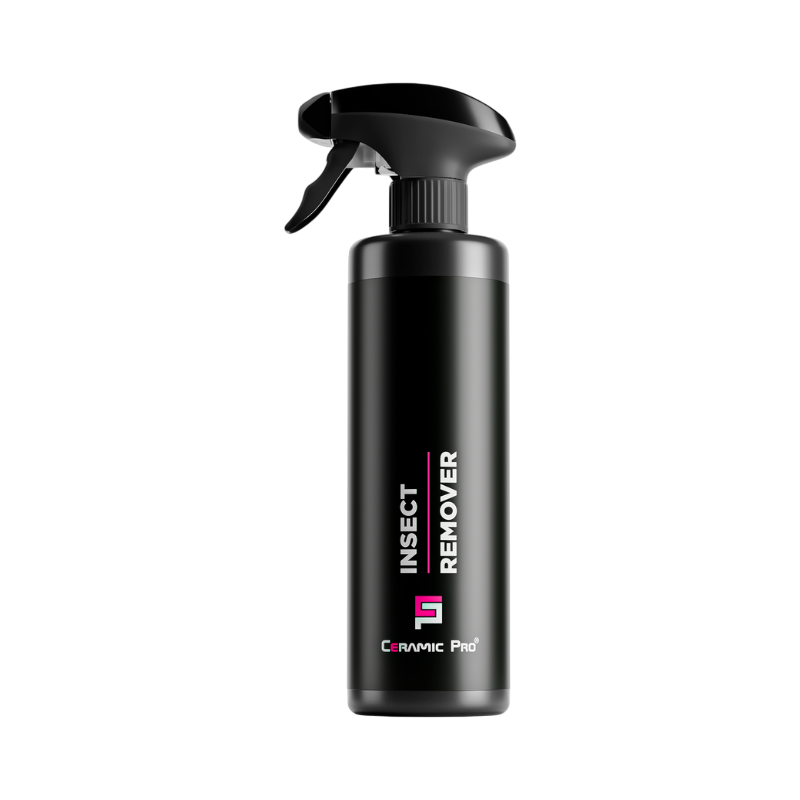 Ceramic Pro Spectrum Insect Remover
Insect Remover is a product that makes it easier to remove insect residues.
Spray evenly over the areas where insects are present. Most often this is the front of the car. After using it, wait about a minute, then rinse with high pressure water. To complete the detailing process, after using insect remover, wash the car with shampoo.
Pro tip: remove insects as soon as possible after your trip. Make sure the surface is not hot. This prevents damage to paint, PPF and ceramic coatings.
 Ceramic Pro Spectrum Iron Remover
Ceramic Pro Iron Remover is designed to eliminate metal particles from wheels and paint.
After thoroughly washing the car, spray the paint evenly and leave it for about 2-3 minutes. In the next step, rinse the car thoroughly. To complete the decontamination process, use tar and glue remover.
Pro tip: you can also use iron remover on wheels to get rid of iron particles from airborne rust.
 Ceramic Pro Spectrum Tar & Glue Remover
Ceramic Pro Tar and Glue Remover is a product designed to remove tar, glue and road grime.
Natural oils were used in the formulation of the product, making it safe for paint, film and ceramic coatings. Spray the contaminated surface and leave it for 5-10 minutes to allow the product to take effect. In the final step, rinse the car thoroughly, making sure to flush the product out of all seals and then wash the car with shampoo.
Pro tip: for tougher contaminants, spray the product onto a microfiber cloth. Then wipe the surface.
 Ceramic Pro Spectrum All-Purpose Cleaner
All-purpose cleaner is a cleaning product for all surfaces, both exterior and interior of the car.
It is a concentrated product that needs to be diluted with demineralized water in the appropriate proportions. Remember to always add the product to the water, not the other way around. The more delicate the material, the greater the dilution of the product should be. We've finished working on the interior and now I'll show you where else we can use our product. Apply the product to a detailing brush and start cleaning. The final step is to wipe off the product. Remember not to let it dry on the surface.
Pro tip: for heavily soiled surfaces, use a scrap pad. It will definitely make cleaning easier for you.
 Ceramic Pro Spectrum Quick Detailer
Do you want your paintwork to look perfect? Meet Quick Detailer.
Quick Detailer enhances the color and gives an incredible glass like finish. It's extremely efficient.
Spray two, three times onto a dry microfiber cloth and spread it over the surface. Remember, using too much product may cause streaks. Wipe off any excess product with the dry side of the microfiber cloth. The paint is not only shiny, but also smooth to the touch. Dirt and water simply slide right off.
Pro tip: if you're washing your car, add a touchless car wash, and the paint is still wet, use our Quick Detailer, spray it on the towel, and wipe down the entire car. This will make the drying process easier and faster. You can also use our product on original matte paint, PPF film, as well as on wheels and glass.
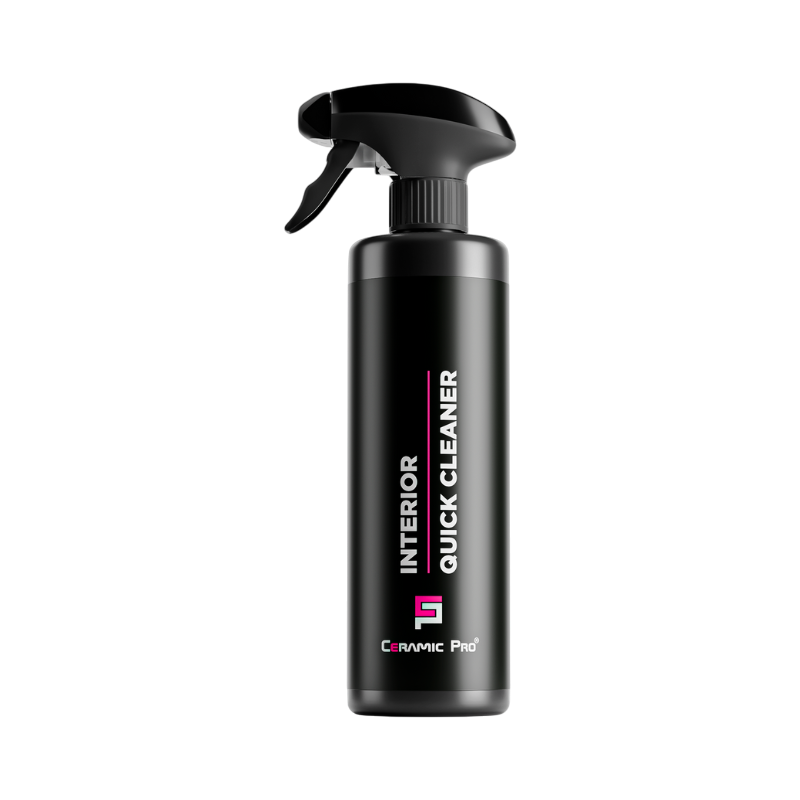 Ceramic Pro Spectrum Interior Quick Cleaner
You want to quickly and effectively refresh the interior of your car. See how the Interior Quick Cleaner works.
With this innovative product, you can clean leather, plastics, navigation screens, glass, carbon fiber elements, and even piano black surfaces. Remember to spray the microfiber cloth, not the surface you're cleaning. This way, you'll avoid streaks. Wipe evenly, and you're done. The result? A factory matte finish.
Pro tip: interior quick cleaner also works great in your home as well.
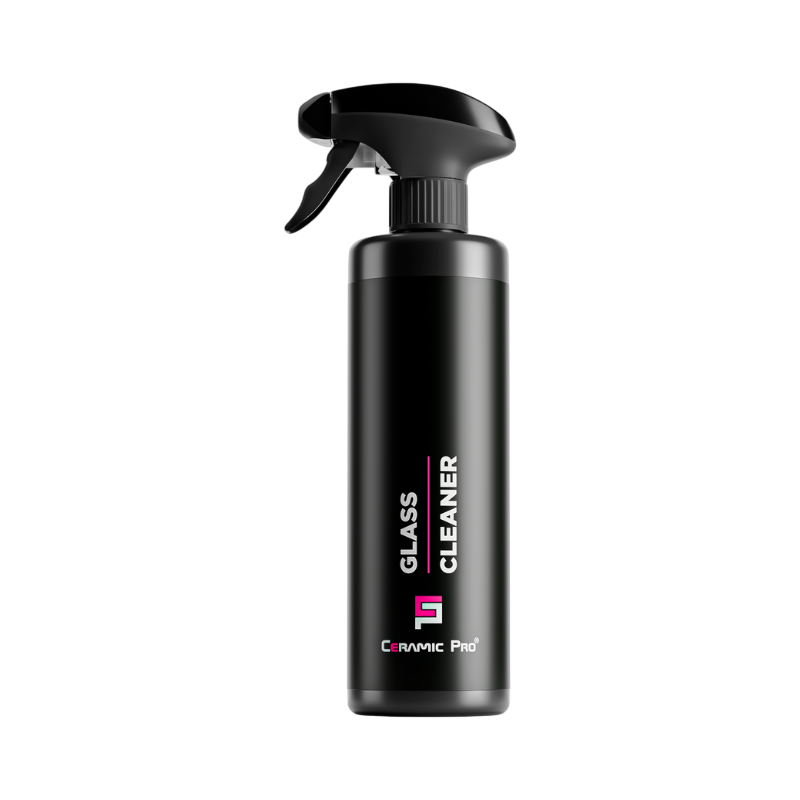 Ceramic Pro Spectrum Glass Cleaner
Glass Cleaner is a safe product for cleaning windows, both on the outside and inside of the car.
Remember to start by lowering the window in the first step so you can clean the edge. Next, spray the microfiber cloth and wipe the window on both sides, starting from the edge. In the next step, close the window and finish cleaning the outside with the microfiber cloth. For the final inspection, use a dry microfiber cloth. We prefer a waffle weave one, and make sure to finish all the windows.
Pro tip: if you don't have a professional inspection flashlight, use your phone to check for any streaks. And you're done. Glass cleaner is easy to use and leaves no streaks.
 Ceramic Pro Spectrum Textile Pre-Wash
Textile Pre-Wash is a concentrated upholstery cleaner that restores its color intensity.
The dilution should be adjusted according to the level of dirt on the material. Remember to pour the water first, then the product. Textile pre-wash is perfect for removing spot stains. Simply spray the microfiber cloth and wipe the area. Then use the dry side to wipe the area until it's dry. You can also use this product for extraction cleaning as well. Remember, the first step is to thoroughly vacuum the material. Generously spray the material. Then use a brush to spread the product, and finally use an carpet cleaner.
Pro tip: textile pre-wash. You can use it for quickly refreshing floor mats, and by using a brush, you can achieve these kinds of stripes.
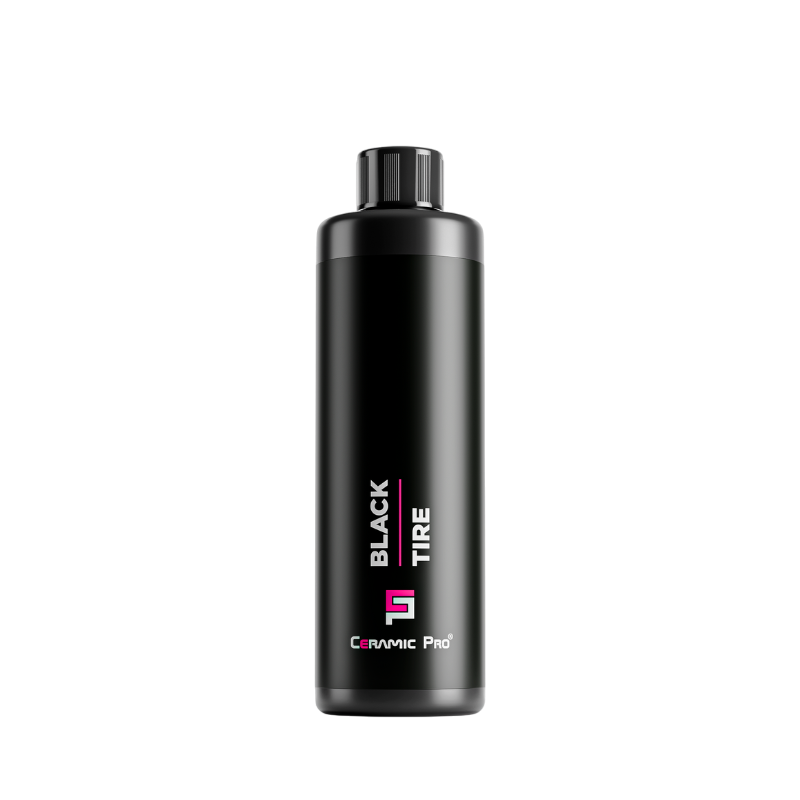 Ceramic Pro Spectrum Black Tire
Black tire is a product that will make your tires look like new for longer.
Tires are exposed to changing weather conditions and require proper care. They lose their shine and start to crack.
First, use the product. Wheel and tire cleaner. Apply a small amount of our product to the applicator and spread it evenly over the tire. Thanks to the innovative, creamy formula, application is incredibly easy, and the tires regain their original appearance. Now we have the look of a shiny tire. If you prefer a matte finish, wipe the tire with a microfiber cloth.
And now a Pro tip: if you're aiming for a perfect look, move the car half a meter and finish applying the product to the tire. This way, you'll achieve a flawless appearance across the entire surface.
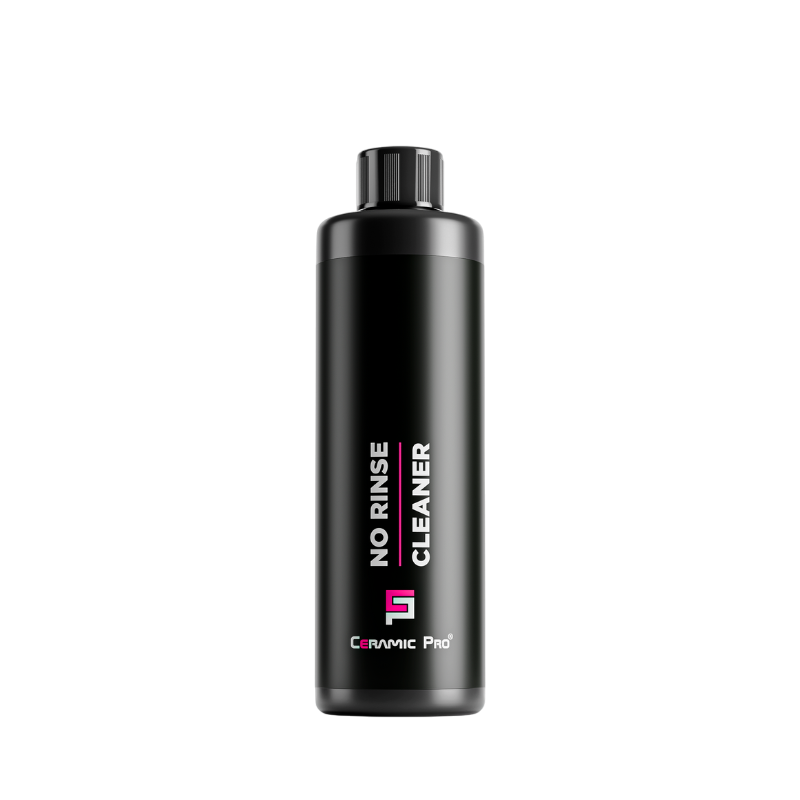 Ceramic Pro Spectrum No Rinse Cleaner
No Rinse Cleaner is an innovative car shampoo that allows you to wash your car without the need for rinsing.
The product doesn't produce foam, yet it has excellent cleaning properties. Pour 50ml into 5 litres of water. It's a game changer in eco-friendly car washing. The product is especially recommended for cars fully protected with clear protective film. Remember to plan your car wash carefully. Wash each section separately. Rinse the sponge before moving on to the next section. Wash from top to bottom, then dry with a microfiber towel.
First, use the product. Wheel and tire cleaner. Apply a small amount of our product to the applicator and spread it evenly over the tire. Thanks to the innovative, creamy formula, application is incredibly easy, and the tires regain their original appearance. Now we have the look of a shiny tire. If you prefer a matte finish, wipe the tire with a microfiber cloth.
No Rinse doesn't require rinsing.
Pro tip: for the No Rinse system, use a special sponge to reduce the risk of scratches.
Ceramic Pro LUX is a high-performance system of nano ceramic products designed for the ultimate protection of high-end leather goods and vehicle interiors.
It consists of 2 products: LUX as the main acting coating that provides protection to the surfaces and LUX SIM as a support product that helps to ensure the maximum performance of the coating.
Genuine leather, faux leather, plastic, wood, synthetic materials
Average: 1ml/20x20cm (8x8”)
• Store at 5-25°C (41-77°F). Do not freeze! Keep away from heat, direct sunlight and sources of fire.
• Store the product in the upright position, do not turn upside down. Shelf life of sealed products is 2 years.
• Once opened for the first time, make sure to securely close the bottle to prevent air from leaking inside. It is advised to finish an opened bottle as soon as possible if only 50% or less of the product remains.
Ceramic Pro LUX application should take place indoors at around 25°C (77°F) and average humidity in a clean, dustless, well-ventilated room with good illumination. Usage of air conditioning and air filtering systems is highly advised to ensure ideal environment for application.
Ceramic Pro LUX and LUX SIM are not a hazardous material; however, it is recommended to wear protective gloves, goggles and a respirator during the application process. Make sure to have easy access to clean tap water.
Sponge, white suede cloths for application and wiping, CP LUX SIM.
Important!!! The use of Ceramic Pro LUX SIM is mandatory before Ceramic Pro LUX application!
• Preload a small amount of CP LUX SIM on a cotton swab and apply on a small inconspicuous area.
• Wait for 15-30 seconds and wipe off the product from the surface. Examine the result to see if the color change is present.
• If there is no significant color change after wiping, you can proceed to the application of Ceramic Pro LUX SIM on a larger area.
• Preload a small amount of Ceramic Pro LUX SIM directly onto a piece of white suede cloth.
• Evenly apply the product on the chosen area without pressure.
• Wait for 15-30 seconds and wipe off the product with a piece of clean white suede.
• Examine the result: if the surface does not show a significant color change, it is compatible with the coating and you may proceed with the actual application of Ceramic Pro LUX. If the surface shows significant color change, then the use of Ceramic Pro LUX on this particular surface is NOT recommended.
Note:
Despite the fact that Ceramic Pro LUX SIM evaporates and fully disappears from the surface after some time, to minimize any possible risks, we still recommend using it on less visible areas for the purpose of testing.
• Clean the surface with appropriate products depending on the type of material.
• Take the application sponge and fix the white suede on it.
• Preload some Ceramic Pro LUX SIM to make the suede evenly wet.
• Apply the product on the surface evenly. It will degrease the surface and prepare it for the application of Ceramic Pro LUX.
• Wait for 2 hours for LUX SIM to evaporate. There is no need to wipe it off.
• Take the application sponge and fix the white suede on it.
• Preload some Ceramic Pro LUX to make the suede evenly wet.
• Apply Ceramic Pro LUX on the surface. We recommend to apply piece by piece on small areas like sections of leather or separate panels to make sure that the coating overlaps the stitches or seams to provide a better protection for them. You can work on bigger areas too, but remember to wipe off the product within 5-7 min after application, as the coating will start to dry and will become unremovable which might affect the final result.
• Wipe off the product with a clean piece of white suede right after you finish the application. There is no need to wait. We use the white suede for wiping because it is suitable for the gentle leather surfaces and does not leave any scratches. However, you can find your own solution, based on the preferred speed of application, areas you work with and the thickness you want to achieve. Remember that every microfiber or cloth has a different level of absorbency and removes different amounts of residual coating.
• Wait for 2 hours before the 2nd layer application.
• Apply the 2nd layer of Ceramic Pro LUX in exactly the same manner as the 1st one.
• Apply as many layers as required to achieve the best effect according to the customer’s wishes. Make sure to wait for 2 hours between every layer.
• Allow the coating to cure for 24 hours until it is absolutely dry. Now you can test the hydrophobic effect.
• After 48 hours of curing, the vehicle or another treated item may now be delivered to the customer.
Note:
For the basic protection and good hydrophobic effect, the application of 2 layers is recommended.
You can vary the number of LUX layers from 2 to 4 depending on the visual result that you would like to achieve. Keep in mind that the more layers you apply the more possible the color change is and glossier the surface will become.
The original color of the surface also matters. Usually, the color change is less visible on the light colors, but such surfaces also need more protection. So, when working with interiors or objects that combine various materials, you may want to apply a specific number of layers to specific types of materials to achieve a uniform result.
Ceramic Pro ION is the latest and most advanced surface protection system from Nanoshine Group Corp. It features Ion Exchange technology, elevating nano-ceramic surface protection to a whole new level.
The system includes two products: ION Base Coat and ION Top Coat. Both components must be applied to activate the system's full features and ensure maximum protection.
Car paint, glass, plastic, metal, rubber, polished and chrome surfaces, and non-absorbing textiles.
1ml per 30x30cm (12x12”)
On average, a standard 50 ml bottle of ION Base Coat is sufficient for two complete layers on a medium-sized sedan.
• Store between 5-25°C (41-77°F). Do not freeze. Keep away from heat, direct sunlight, and sources of fire.
• Always store the product in an upright position. Do not turn it upside down. The shelf life of sealed products is 2 years.
• Once opened, securely close the bottle to prevent air entry. It is advised to use up an opened bottle as soon as possible, especially if only 50% or less of the product remains.
The application of Ceramic Pro ION should take place indoors at 25°C (77°F) with 60-70% humidity in a clean, dust-free, well-ventilated room with good lighting. The use of air conditioning and air filtering systems is highly recommended to ensure an ideal environment for application.
Although Ceramic Pro ION is not hazardous, it is recommended to wear protective gloves, goggles, and a respirator during the application process. Ensure easy access to clean tap water.
Depending on the application method, you may need the following tools: Ceramic Pro Cleaner, Ceramic Pro Nano-Primer, buffing pads, a polishing machine, an application pad or spray gun, an IR curing lamp, fresh regular microfiber towels for cleaning, fresh blue microfiber towels for application, fresh orange microfiber towels for wiping, automotive masking tape, a stopwatch, and a flashlight. For convenience and to avoid accidental damage to car surfaces, keep all your tools and materials on a tool trolley.
Surface preparation is a mandatory step before coating application! Most surfaces require only cleaning, but car paint also requires the application of Ceramic Pro Nano-Primer to enhance the results.
• The surface must be defect-free and thoroughly washed using Ceramic Pro Cleaner or a solvent-based product to remove all contaminants such as dirt, bugs, tree sap, tar, water spots, and fingerprints.
• Ceramic Pro Cleaner is preferred as Isopropyl alcohol will not thoroughly remove all oils or polish residues.
• Apply Ceramic Pro Cleaner on microfiber towels rather than directly on the surface. Always use fresh, clean microfiber towels for cleaning and wiping.
• After washing and cleaning, ensure the surface is completely dry.
• Shake the bottle vigorously for at least 10-15 seconds before use.
• Apply a few drops of Nano-Primer on a soft buffing pad attached to the polishing machine.
• Begin working on a small area (≤1 sq. m.) by spreading the product over the surface at low speeds (600-1000 RPM). Do not apply pressure or allow the surface to heat up.
• Immediately remove any residue from the surface with a clean microfiber towel after buffing.
• Allow the Nano-Primer to sit for about an hour before starting the application of Ceramic Pro ION.
Note: Nano-Primer application is only required when working with painted vehicle surfaces.
The primary goal of applying Ceramic Pro ION is to create a thick layer of coating on the surface. All methods, tools, and materials used are specifically developed and chosen to maximize the chances of achieving this objective.
• Recommended for those new to using Ceramic Pro ION.
• Pour about 20 drops of the product on the applicator pad.
• Apply the product using circular and zigzag motions without applying pressure.
• Work on small segments (about 60 x 60 cm), especially if you are inexperienced with Ceramic Pro ION.
• Ensure no spots are missed.
• This method requires special skills and experience, making it more suitable for high-level specialists.
• Fill the spray gun’s cup with enough product.
• Apply the product in a cross-hatch pattern, ensuring the segments overlap.
• Be cautious not to miss any spots.
• Begin wiping 30-60 seconds after application, using the BLUE microfiber towel. If the ambient temperature is above 25°C, start wiping immediately after application.
• Use quick, intensive circular motions initially, then transition to wider movements from side to side of the coated segment.
• Repeat the procedure using the same side of the microfiber until all residue is fully removed.
• Use the ORANGE microfiber towel for the final finish. Lightly wipe the surface until it becomes perfectly glossy. Use the flashlight to check for roughness, swirls, and blurred parts. Repeat the process if necessary.
Unlike the 9H generation, Ceramic Pro ION Base Coat allows the addition of layers once it is fully dried. More specifically, a fully dried layer of ION Base Coat forms special connector-shaped structures out of particles that allow the next layer to merge with the existing one.
This feature adds flexibility to the application process. You can apply a layer of ION Base Coat, leave it, and return to apply the next layer at a convenient time, ensuring that the previous layer has fully dried. Accelerating the process with IR lamps is highly recommended while working with Ceramic Pro ION.
When the application and wiping of the coating are complete, cure the coating with IR lamps. Although not mandatory, this greatly improves the efficiency of the application and saves time.
• Heat the surface to 40°C and cure for 30 minutes. This should be sufficient to complete the process. You can then proceed to the next layer of ION Base Coat.
• If IR lamps are not used, drying at 25°C will take 45-50 minutes. Drying at lower temperatures will take even longer, over 60 minutes at 10°C.
•Once the application of the final layer of ION Base Coat is complete, allow it to dry for 2 hours at 20-30°C. Alternatively, use IR lamps to heat the surface to 60°C and finish curing within an hour.
It is necessary to apply ION Top Coat to initiate the ion exchange reaction and unlock the maximum potential of Ceramic Pro ION.
• Apply ION Top Coat using the same method as for the ION Base Coat.
• Once the application is complete, heat the surface to 60°C for two hours. Afterward, let the surface naturally cool down to ambient temperature.
• Alternatively, curing at 25-30°C will take up to 8-10 hours.
2 layers of ION Base Coat + 1 layer of ION Top Coat
4 layers of ION Base Coat + 1 layer of ION Top Coat
Once the curing of the ION Top Coat is complete, the coating needs an additional 72 hours to undergo chemical processes and reach a fully-cured state. During this time, any contact with water and liquids must be strictly avoided. Water droplets will form spots that can only be removed by hard polishing and re-application of Ceramic Pro ION.
To maintain the top performance of the coating, it should be serviced every 2-3 months. Applying Ceramic Pro Care or Care+ to repair any damage to the hydrophobic layer should be sufficient in most cases.
• Spray Ceramic Pro Care+ on a damp microfiber towel. 2-3 portions should be sufficient.
• Apply evenly, ensuring no spots are missed.
• Keep the treated surfaces away from contact with water for 8 hours after application.
• Clean the surfaces of a vehicle with water and PH-neutral washing products.
• Dry the vehicle.
• Apply Ceramic Pro Care+.
• Slightly polish the stained area with Ceramic Pro Nano-Primer.
• Re-apply one layer of Ceramic Pro ION Top Coat to restore the hydrophobic effect.
This type of contamination is commonly caused by time, the elements, and the lack of timely maintenance.
• Remove the coating by machine-polishing. The use of abrasive compounds may be necessary due to the high resistance of the coating to abrasive damage.
• Clean the surface.
• Prepare the surface with Nano-Primer.
• Re-apply all layers of the coating.
• This product is not harmful to the skin. If the product comes in contact with your skin, wash it off with water.
• If the product comes into contact with your eyes, wash your eyes with large amounts of water. If discomfort persists, seek medical help immediately.
• This product is not edible. Keep out of reach of children.
• Do not wash the vehicle in automatic car washes.
• Do not use wax after the coating, as it contains abrasive micro-particles that will interfere with the proper functioning of the coating. Moreover, it would be completely pointless.
• If you need more time to apply and wipe the coating, lower temperatures (below 25°C) will provide such a possibility. Low temperatures give you more time to smooth out the surface of the coating. You can also store ION in a refrigerator to achieve the same effect. However, do not store it in a freezer or environment below 5°C.
• To properly check the result of the application, we recommend visual inspection using white light, yellow light, refracted light, and LED light. Each of these may reveal a possible imperfection, which can later be corrected.
• The BLUE microfiber towel is specialized for the application of a thick layer. It is more suitable for this goal because it has low absorption properties, meaning that it will not remove the coating from the surface.
• The ORANGE microfiber towel, on the other hand, absorbs liquids much better, which is a beneficial property when leveling and removing excess residues.
• Make sure to use the microfiber towels as instructed to improve the results and make the application process easier.
• Unlike ION Base Coat, Ceramic Pro ION Top Coat can serve as a stand-alone product. However, only the combination of both products will activate the process of ion exchange and unleash the full potential of the coating.
• Ceramic Pro ION, once fully dry, cannot be removed with chemicals. It can only be removed by machine polishing.
• Thoroughly decontaminate the paint of all tar, bugs, dirt, tree sap, water spots, fingerprints, or any other contaminants on the surface.
• Clean the surface with Ceramic Pro cleaner or a body shop authorized wax and grease remover. The cleaner must be solvent-based and not solely Isopropyl Alcohol. Straight alcohol will not thoroughly remove oil and polish residues, which can compromise the durability of the coating. Always use clean towels for this step.
• Apply our primer, Nano Polish, to the surface. Put a few drops on a soft foam pad and go over the surface until all the primer is used. Set the buffer to medium or low speed. Wipe off any residue.
• Wrap the applicator sponge with the white micro-suede cloth provided in the 9H box, or use the applicator of your choice. Microfiber applicators can also be used as a substitute.
• When first applying our product, 9H, to the substrate, it is recommended to condition the surface of the applicator with 7-8 drops to prevent skipping or dry spots.
• Apply 9H using normal pressure on the applicator. Ensure the area is well covered. Always start from an edge to avoid excess on other panels. Work in controlled areas to keep track of where you have already applied. Use horizontal and vertical movements or circular motions to ensure consistent application.
• Wait approximately 1 minute before leveling the product.
• If you start leveling too early, 9H will be absorbed solely by the towel. Conversely, if you wipe too late, 9H will become tacky and too hard to even out.
• Follow with a second towel. You must use a brand-new towel for this step. Gently go over the surface using a polishing motion until the surface is free from residue.
• Finish with a third new towel (referred to as the insurance towel) and go over the surface one extra time to ensure no streaks or excess residue have been missed.
• Wait approximately 40-60 minutes before applying the second layer. The waiting time depends on temperature and humidity. Waiting too long can result in the surface being too hydrophobic for bonding of the second layer, while applying too early may dissolve the previous layer.
• Repeat the steps for each additional layer. You will notice that the surface will absorb less 9H as more layers are applied.
• After the desired amount of 9H layers has been applied, allow the coating to begin curing. Curing can be accelerated using IR or heat lamps. Follow the lamp manufacturer's recommended settings.
• Keep the coating away from all polish and compound dust during the curing process. This can be achieved by segregating your bays or by simply covering the area with a lightweight drapery.
• If working in extremely warm conditions, it is recommended to apply smaller areas initially. The size of the application area can be determined and customized by observing the product's flash time on the paint. If you notice that it flashes rapidly, reduce the size of the application area. It is best to start with a fender to gauge how much product work time is available.
• Before the application of Ceramic Pro Top Coat, the final layer of Ceramic Pro 9H should have cured for 8-12 hours at room temperature.
• Car Paint
• Plastic
• Leather
Download Instuction
• Thoroughly decontaminate the paint of all tar, bugs, dirt, tree sap, water spots, fingerprints, or any other contaminants on the surface.
• Clean the surface with Ceramic Pro cleaner or a body shop authorized wax and grease remover. The cleaner must be solvent-based and not solely Isopropyl Alcohol. Straight alcohol will not thoroughly remove oil and polish residues, which can compromise the durability of the coating. Always use clean towels during this step.
• Apply our primer, Nano Polish, to the surface. Drop a few drops on a soft foam pad and work over the surface until all the primer is used. Set the buffer to medium or low speed. Wipe off any residue.
•If you are applying Ceramic Pro Top Coat on top of Ceramic Pro 9H, allow the final layer of Ceramic Pro 9H to cure for 8-12 hours at room temperature before the application process.
• Wrap the applicator sponge with the white micro-suede cloth included with the bottle in the 9H box, or use an applicator of your choice. Microfiber applicators can also be used as a substitute.
• When first applying our Top Coat product on the substrate, it is recommended to condition the surface of the applicator with 7-8 drops to prevent skipping or dry spots.
• Apply Top Coat using normal pressure on the applicator. Ensure the area is well covered. Always start from an edge to avoid excess on other panels. Work in controlled areas to track where you previously applied. Use horizontal and vertical movements or circular motions to ensure consistent application.
• Wait one minute after the panel is fully covered, then start to wipe off the product using clean towels.
• Follow with a second new towel. You must use a brand new towel for this step. Gently go over the surface using a polishing motion until the surface is free from residue.
• Finish with a third new towel (referred to as the insurance towel) and go over the surface one additional time to ensure no streaks or excess residue are missed.
• Keep the coating away from all polish and compound dust during the curing process. This can be prevented by segregating your bays or simply covering them with lightweight drapery.
• Car Paint
• Plastic
• Leather
• Thoroughly decontaminate the leather of all tar, bugs, dirt, tree sap, water spots, fingerprints, or any other contaminants on the surface.
• Clean the surface with Ceramic Pro cleaner or a body shop authorized wax and grease remover. The cleaner must be solvent-based and not strictly Isopropyl Alcohol. Straight alcohol will not thoroughly remove oil and polish residues, which can compromise the durability of the coating. Always use clean towels during this step.
• Clean the surface thoroughly.
• Wrap the applicator sponge with the white microsuede cloth included in the box.
• Apply Ceramic Pro Leather using normal pressure on the applicator sponge. Ensure the area is well covered. Always start from an edge to avoid excess on other panels. Work in controlled areas to keep track of where you have already applied. Use horizontal and vertical movements or circular motions to ensure the product is distributed evenly.
• Wait 1 minute.
• If there is any residue, gently remove it using a microfiber cloth.
• Wait 1 hour before adding an additional layer. Note: A second layer will enhance the protection.
• Once finished, keep the treated surface away from water and dirt for the next 8 hours.
• Leather
• Imitation Leather
• Synthetic Fabrics
• Thoroughly decontaminate the surface of all tar, bugs, dirt, tree sap, water spots, fingerprints, or any other contaminants.
• Clean the surface with Ceramic Pro cleaner or a body shop authorized wax and grease remover. The cleaner must be solvent-based and not strictly Isopropyl Alcohol. Straight alcohol will not thoroughly remove oil and polish residues, which can compromise the durability of the coating. Always use clean towels during this step.
• Clean the surface thoroughly.
• Wrap the applicator sponge with the white microsuede cloth included in the box.
• Apply Ceramic Pro Plastic using normal pressure on the applicator sponge. Ensure the area is well covered. Always start from an edge to avoid excess on other panels. Work in controlled areas to keep track of where you have previously applied. Use horizontal and vertical movements or circular motions to ensure the product is evenly distributed.
• Wait 1 minute.
• If there is any residue, gently remove it using a microfiber cloth.
• Wait 1 hour before adding an additional layer. Note: A second layer will enhance the protection.
• Once finished, keep the treated surface away from water and dirt for the next 8 hours.
• Plastic
• Rubber
• Thoroughly decontaminate the paint of all tar, bugs, dirt, tree sap, water spots, fingerprints, or any other contaminants on the surface.
• Clean the surface with Ceramic Pro cleaner or a body shop authorized wax and grease remover. The cleaner must be solvent-based and not strictly Isopropyl Alcohol. Straight alcohol will not thoroughly remove oil and polish residues. This can compromise the durability of the coating. Always use clean towels during this step.
• Pour the product onto the applicator evenly until it starts to absorb the product.
• Divide the area into small sections (60 x 30 cm). One windshield can be divided into approximately four areas.
• Apply the product in vertical motions, ensuring every spot is passed over 10 times.
• Wipe down the residue with another dry microfiber cloth until the surface becomes clear.
• Wait for 15 minutes and then repeat the application for multiple layers.
• Complete two layers and wait for 8 hours until the coating is fully cured.
• Windows
• Glass
Video instructions
• Look for oxidation, which can be recognized as “haze or chalkiness” on the gelcoat.
• Look for UV damage, identifiable by closely examining the gelcoat for opened or swollen pores.
• Identify scratches and determine the steps needed to prepare the surface for coating.
Washing:• Start with a pre-rinse to loosen all dirt and debris. The more you can rinse during this process, the easier it will be to wash the vessel.
• Fill a bucket or spray bottle with high suds soap and 20% vinegar and begin washing with a brush from the highest point on the vessel. The acid from the vinegar will help remove any surface dirt and oxidation and is safe on all surfaces.
Towels/Drying:• Use any towel to dry, starting with all stainless steel and glass first.
• Dry from top to bottom.
Taping:• Tape all decals, rub rail, and teak to avoid any damage or cross-contamination between polishes and surfaces.
• Adjust your spray gun’s fan to its widest setting. The knob that is highest on the gun or closest to the cup controls your fan. Turn this knob completely to the right to open it to its widest pattern.
• Adjusting your product flow is critical to achieving proper coverage. This knob is typically located just below the fan knob. After the fan is adjusted, begin tuning your product flow to achieve a fine and consistent flow. Start with a quarter turn until you achieve the desired flow.
• Hold your trigger down and adjust your digital regulator between 6.5 psi and 8 psi to achieve the desired spray pattern.
Applying Ceramic Pro to Gelcoat• Hold your gun about 6-8 inches away from the surface and begin spraying.
• When making a pass, ensure the gun is always facing forward to ensure even coverage.
• Your working space should be no wider than shoulder-width apart. Move in a fluid motion, ensuring you overlap each successive pass.
Leveling Ceramic Pro Marine/Bravo for Exterior• Flash times are generally about 30-45 seconds for Ceramic Pro Marine and 45-60 seconds for 9H.
• Once Ceramic Pro has flashed, begin wiping with a clean, non-contaminated towel. Wipe quickly with horizontal strokes for the first pass, then follow with a new towel and begin to buff in circular motions.
Applying Ceramic Pro Marine to interior surfaces• Apply Ceramic Pro Marine using a spray gun or an applicator pad.
• When using a spray gun, no leveling is necessary (use minimal product flow on the spray gun).
• When using an applicator pad, it is important to ensure even coverage across all surfaces. Use a microfiber towel to remove any excess.
SURFACES
• Gel coat
• Metals
• Glass
• Vinyl
• Teak Decking
• Outdrives
• Props
• Non-skid
• Carpet
• All interior surfaces
• Bilges
• Below water line (when fouling paint is not present)
1. SURFACE PREPARATION. This is one of the most important steps in the application. When working with new rims, polish all surfaces with Nano-Primer. In the case of used rims, thorough cleaning is required before polishing with Nano-Primer.
2. AREA AND EQUIPMENT PREPARATION. A clean and dust-free environment is crucial for achieving a perfect cosmetic finish. While most applicators do not have ISO-class clean rooms, it is necessary to do everything possible to reduce the amount of dust in the working area. This includes the air from the compressor. Installing an additional dust filter between the compressor and the spray gun is another step to avoid complications. Ensure that the air in the spray gun is clean and dry.
3. PRODUCT PREPARATION. The product is always filtered during the manufacturing process, but due to chemical reactions, it may generate additional particles during transportation. It is required to filter the product through a 3000-mesh filter right before application. This will prevent cosmetic problems caused by solid fragments that may be present in the product.
4. ADJUSTING SPRAY-GUN SETTINGS. Adjust the air pressure to 15-20 psi, hold the spray gun 10-15 cm away from the surface, and move the spray gun at approximately 300 mm per minute. This setting will keep your product consumption at a rate of 1-2 g/min. Make adjustments based on your real environment and equipment performance.
5. APPLYING THE COATING. You can now start the application.
6. AFTER APPLICATION. Once the application is complete, allow the product to dry. The average time until surface dry is about 60 minutes at 25°C. Full curing is complete after 7 days. You can also speed up the curing process with IR lamps. Curing the product at 60°C for an hour is a good idea. It helps to shorten the time when the coating is vulnerable to dust and also makes you more confident about the performance of the product when delivering the vehicle/rims to the customer.
• Thoroughly decontaminate the film of all tar, bugs, dirt, tree sap, water spots, fingerprints, or any other contaminants on the surface.
• Clean the surface with Ceramic Pro cleaner or a body shop authorized wax and grease remover. The cleaner must be solvent-based and not strictly Isopropyl Alcohol. Straight alcohol will not thoroughly remove oil and polish residues, which can compromise the durability of the coating. Always use clean towels during this step.
• Apply our primer, Nano Polish, to the surface. Put a few drops on a soft foam pad and go over the surface until all the primer is used. Set the buffer to medium or low speed. Wipe off any residue.
• Wrap the applicator sponge with the white micro-suede cloth included with the bottle in the 9H box, or use an applicator of your preference. Microfiber applicators can also be used as a substitute.
• When first applying Ceramic Pro PPF&Vinyl to the film, it is recommended to condition the surface of the applicator with 7-8 drops to prevent skipping or dry spots.
• Apply PPF&Vinyl using normal pressure on the applicator. Ensure the area is well covered. Always start from an edge to avoid excess on other panels. Work in controlled areas to track where you have previously applied. Use horizontal and vertical movements or circular motions to ensure consistent product distribution.
• Wait approximately 1 minute before leveling the product.
• If leveling is started too early, PPF&Vinyl will be absorbed solely by the towel. Conversely, if wiping is done too late, PPF&Vinyl will become tacky and too difficult to even out.
• Follow with a second new towel. You must use a brand new towel for this step. Gently go over the surface using a polishing motion until the surface is free from residue.
• Finish with a third new towel (referred to as the insurance towel) and go over the surface one additional time to ensure no streaks or excess residue are missed.
• Wait approximately 40-60 minutes before applying the second layer. The waiting time depends on temperature and humidity. Waiting too long can result in the surface becoming too hydrophobic for bonding of the second layer. Applying too early may dissolve the previous layer.
• Repeat the steps for each additional layer. You will notice the surface will absorb less PPF&Vinyl as more layers are applied.
• After the desired amount of layers have been applied, allow the coating to begin curing. Curing can be accelerated using IR or heat lamps. Follow the lamp manufacturer's recommended settings.
• Keep the coating away from all polish and compound dust during the curing process. This can be prevented by segregating your bays or by simply covering them with a lightweight drapery.
• Vinyl Films
• PPF Films
• Advertising Materials
• Thoroughly decontaminate the paint of all tar, bugs, dirt, tree sap, water spots, fingerprints, or any other contaminants on the surface.
• Clean the surface with Ceramic Pro cleaner or a body shop authorized wax and grease remover. The cleaner must be solvent-based and not strictly Isopropyl Alcohol. Straight alcohol will not thoroughly remove oil and polish residues, which can compromise the durability of the coating. Always use clean towels during this step.
• Wash the car normally (with water or waterlessly).
• Dampen the surface.
• Spray "Sport" onto a microfiber cloth.
• Wipe the surface. Note: The surface must be slightly wet or damp when applying Sport.
• Car Paint
• Glass
• PPF
• Vynils
• Ceramic Pro Textile should only be applied to natural and absorbent fabrics such as cotton, silk, flax, and suede.
• Ensure the surface is clean and dry before application.
• Ensure the fabric is clean and completely dry.
• Spray the product evenly onto the surface until the fabric fully absorbs the product.
• Allow the surface to sit undisturbed for 8 hours.
• Ceramic Pro Tag should be applied only to absorbent surfaces.
• Clean the surface thoroughly prior to application.
• Ensure the surface is clean and completely dry.
• Spray the product evenly onto the surface and wait 8 hours.
Clean the surface from dirt, dust, and grease. Ensure the application area is clean and dry, as this is necessary for coating adhesion. Pour a small amount of the Strong solution through a 300μm filter into a chemical-resistant plastic or glass container. The solution can polymerize near the bottle cap, and it should be filtered from it. Dip a synthetic brush in the solution and remove the excess amount. (Attention: Only use a SYNTHETIC brush; brushes with animal hair will spoil the result by leaving hair in the coating). Apply an even layer on the clear and dry surface using smooth strokes, with no force applied, ensuring no zones are left uncovered. LEAVE IT AFTER APPLICATION; DO NOT WIPE THE COATING. The solution's heterogeneity will be smoothed by surface tension after desiccation. The surface will dry after 24 hours. Full polymerization will take 3-5 days.
You will need a 200μm filter, a soft synthetic brush (use only synthetic), and a chemical-resistant plastic container. The curing conditions are based on a temperature of 20°C and humidity of 70%. The product will polymerize much faster in a warm and humid environment. If you work in a cold environment, curing will take longer. We do not recommend Ceramic Pro Strong for cosmetic work on cars. Try the solution on small areas first before covering the entire surface. Identify the type of surface before applying - the color of glossy materials will not be affected, while matte and absorbent surfaces may change color. On such surfaces, you may cover a small area first, or use a material sample and cover half of it to see if the color changes. Some surfaces' color may get slightly darker. If you or your customer can accept the result, continue on the wider areas.
• Stone
• Glass
• Wood
• Leather
• Metal
• Synthetic, painted, and powder-coated surfaces
1. Clean the surface properly before applying Ceramic Pro Care to ensure optimal adhesion.
2. To prevent instant curing of the coating, ensure the surface is cool and not hot.
3. The product can be applied to both dry and wet surfaces.
1. Spray an even mist of Ceramic Pro Care over a small area (less than 1 sq. m).
2. Immediately buff the area with a clean, high-quality microfiber towel using a wave motion until the surface is completely dry.
3. Use a new, clean microfiber towel to remove any residues.
4. Allow the coating to cure for at least 8 hours..
The vehicle can be used immediately, but for optimal results, allow 8 hours of curing.


